
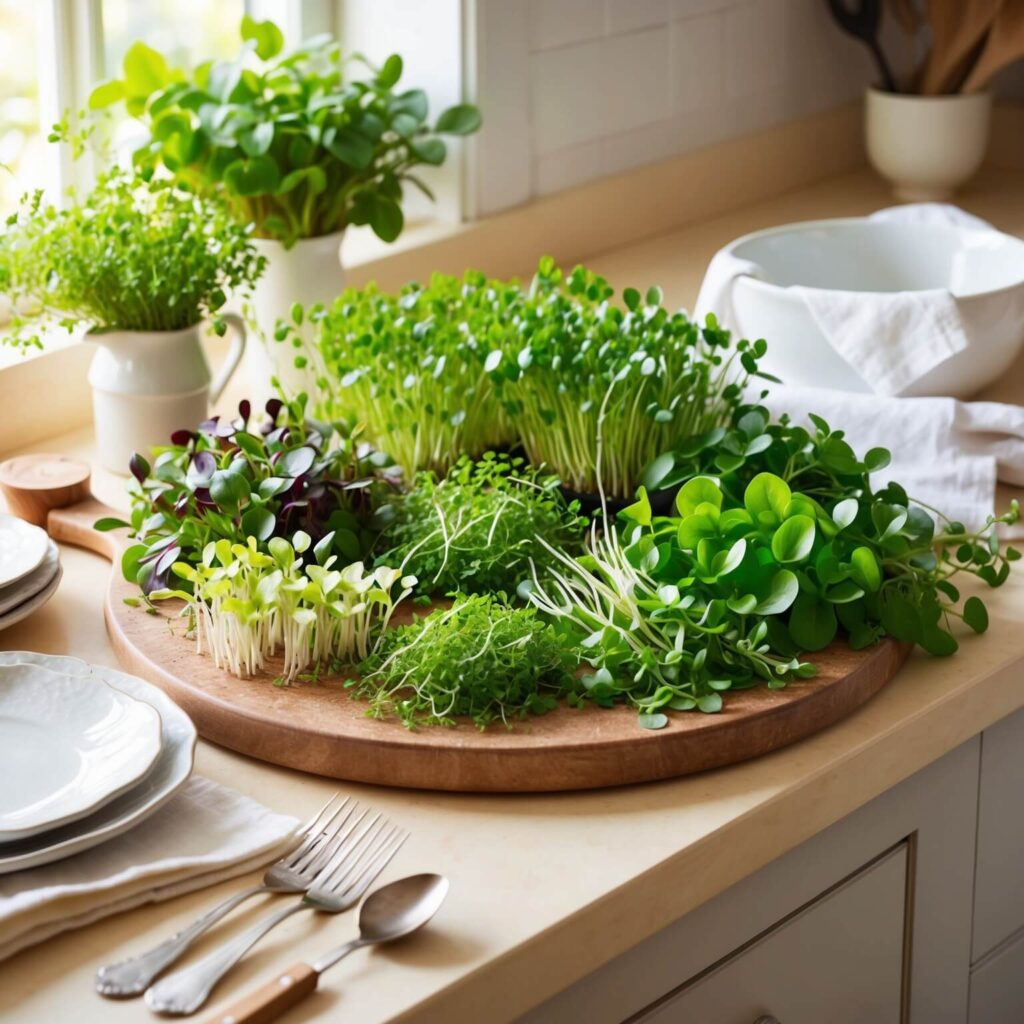
Microgreens are the superstars of the culinary scene small but powerful little greens that pack a punch of flavor, nutrition and color into your food. The best part? You don’t even have to have a garden to grow them. With just a small amount of space on your windowsill or countertop, you can grow Microgreens in your own home .
This guide will teach you all about growing microgreens at home. From planting the proper varieties to harvesting the greens, you’re going to learn just how easy and rewarding it is to grow your own clean, nutrient-rich greens.
What Are Microgreens?
Microgreens are young vegetable greens that are harvested only a few weeks after germination. More mature than sprouts but younger than baby greens. These mini mamas are packed with nutrients, sometimes even more vitamins and minerals than their full-grown counterparts. A favorite ingredient with chefs and home cooks alike, they provide vivid color, bright flavor and a nutrients boost to such dishes as salads, sandwiches and smoothies.
Why Grow Microgreens at Home?
- Freshness: Get fresh greens without relying on the store.
- Health Benefits: One of the ultimate superfood powerhouses that is brimming with nutrients, microgreens are a superfood powerhouse.
- Cost-Effective: Just a few seeds can produce multiple harvests.
- Sustainability: Less food waste, less packaging, growing your own produce.
- Year-round Grow: Also ideal for indoor growing, no matter the season.
Selecting the Right Type of Microgreens
If you are a new microgreens grower, it may be daunting to know which microgreens to grow. To hit the ground running, here are a handful of popular and easy-to-grow varieties.
Popular Varieties to Try
- Arugula: Spicy and bright, perfect for salads and sandwiches.
- Radish: Hot and crunchy; good as a garnish or salad topper.
- Basil: An aromatic herb that gives Italian food a hint of sweetness.
- Pea Shoots: Sweet and crunchy for stir-fries, or snacking.
Factors to Consider
- Color: If you want the prettiest platter, grow a rainbow of radishes, or use arugula. Prefer something milder? Try pea shoots or basil.
- Nutritional Value: Explore the nutrients you’ll find from each variety. For instance, broccoli microgreens contain high levels of antioxidants.
Supplies Needed
Before growing, you’ll need to gather supplies.
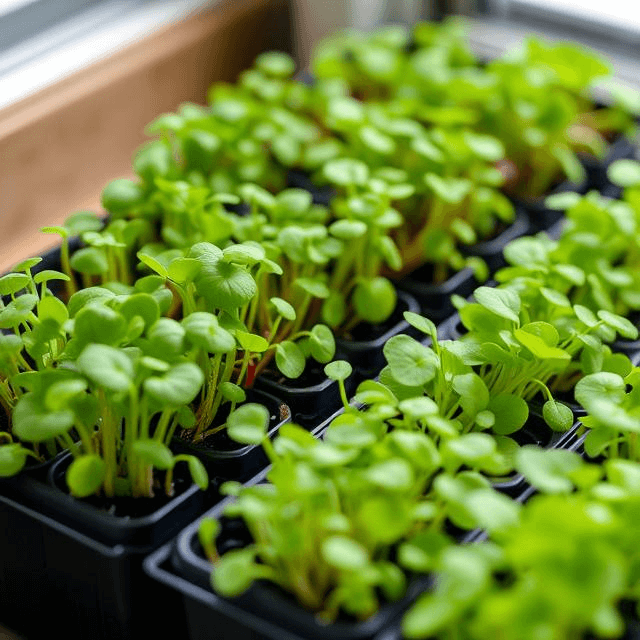
Containers
- Seed Trays: Shallow trays facilitate even growth.
- Recycled Containers: Use yogurt cups, takeout containers, etc. just be sure they’re drillable for drainage.
Growing Medium
- Soil: An excellent source of nutrients and best for newbies.
- Hydroponic Mats: No mess and better for seasoned growers.
Seeds
Sourcing Quality Seeds: Purchase seeds specifically labeled for microgreens from known suppliers. Stay away from chemically-treated seeds.
Essential Tools
- Spray Bottle: Helps with light and even watering.
- Light Source: Consider using sunlight or a grow light to optimize growing conditions.
Step by Step Growing Process
Microgreens are easy to grow and don’t require a horticulturalist’s hand. Here’s how to get started.
Prepare the Container
- Clean and Sanitize: To keep out pests or mold, wash your container well.
- Add Growing Medium: Add 1-2 inches of soil or hydroponic mat to the container.
Sow Seeds
- Spread Seeds: Scattering them around the growing medium and not overpopulate.
- Cover Slightly with Soil: When using soil, cover the seeds only slightly, enough to keep them in place.
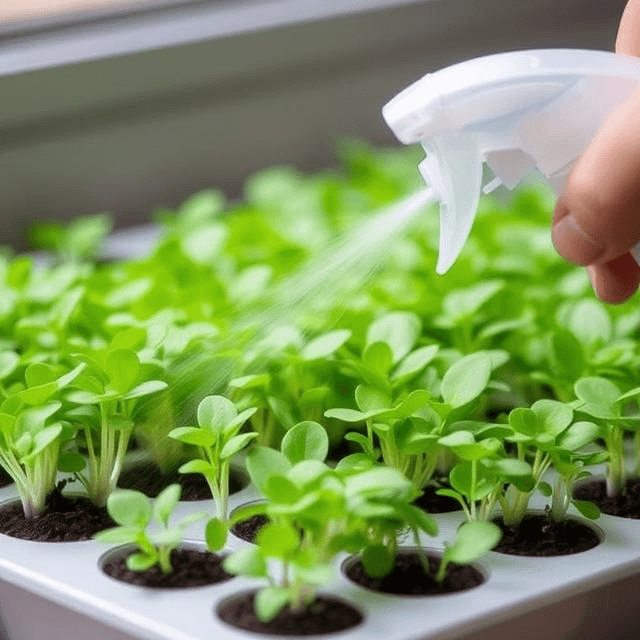
Watering
- Mist with Water: Use a spray bottle to lightly mist the soil.
- Keep Moist But Not Soggy: Check every day to make sure the soil or mat is damp.
Provide Light
- Give Light: Put your container in a sunny area or grow light for 12 to 16 hours each day.
- Rotate trays: When using natural light, you want to rotate the tray every day.
Temperature and Humidity
- Optimal Temperature: From 60°F to 75°F
- Put on a Cover, if Necessary: During the period of germination, place a cover (lid or a plastic wrap) on top of the container to retain humidity.
Harvesting Microgreens
- When to Harvest: Most microgreens are ready to harvest 7-21 days after sowing once they’re 1-3 inches tall.
- How to Cut: Use scissors to snip the greens at soil level.
- How to Store Harvested Microgreens: Keep in an airtight container in the fridge for up to 1 week.
Tips for Success
- Keep Moisture Steady: If conditions are too dry the growth can be stunted, but overwatering can cause mold.
- Check for Pests: Look out for insect infestations, though bugs are rare inside.
- Diversify with Crop Rotation: Varying your crops is a great way to ensure an eclectic and balanced harvest.
Enjoy the Fruits (or Greens!) of Your Labor
Growing microgreens in the kitchen isn’t only practical it’s a blast! Think about all the nutrient-dense greens right at your fingertips all year long. Whether you are a weekend chef, Nutritionist or just someone who wants to save on grocery expenses, microgreens are an excellent addition to your home kitchen.
After you get the hang of the basics, you can explore different varieties and recipes, and even try fringe approaches like hydroponics. The options are limitless.
Start small, be persistent and delight in growing your own tasty microgreens! Your meals and your health will be grateful.
FAQ
Yes! Microgreens are easy to grow indoors and require minimal space. You just need
A shallow tray or container
Quality potting soil or a hydroponic growing mat
Seeds of your choice (like radish, broccoli, or sunflower)
A sunny windowsill or grow light for proper light exposure
Microgreens typically grow within 7–14 days and are ready to harvest quickly.
Most microgreens do not regrow after cutting. Since they are harvested at a young stage, they lack the energy to regrow new shoots. However, some varieties, like pea shoots and wheatgrass, may regrow if left with enough stem and roots intact.
Yes! Growing microgreens at home is
Healthier ,You control the growing conditions and avoid pesticides.
Cost-effective , Store-bought microgreens are expensive, while homegrown ones cost a fraction.
Nutrient-dense , Microgreens contain higher vitamins and antioxidants than their mature counterparts.
Yes, but it’s best to use organic and untreated seeds because regular garden seeds may be treated with chemicals not safe for consumption at the microgreen stage. Some great choices for microgreens include broccoli, mustard, arugula, and radish
Some of the most nutrient-rich microgreens are:
Broccoli microgreens , High in sulforaphane, which supports detoxification.
Red cabbage microgreens , Packed with vitamin C and anthocyanins.
Radish microgreens , Boost digestion and have antibacterial properties.
Sunflower microgreens , A great source of protein, iron, and healthy fats.
