
A clean, organized kitchen isn’t merely for aesthetics; it’s the basis for good health, efficient cooking and a calm mind. A well-organized kitchen Cleaning Schedule helps you work more quickly, fends off harmful bacteria and increases your productivity, whether you cook every day or just on the weekends. But let’s be honest maintaining it can be overwhelming unless approached methodically.
That’s where a weekly cleaning schedule can help! In this step-by-step guide, you will learn how to create a practical and effective cleaning plan for your kitchen based on its unique needs. Read on to transform your kitchen into the peaceful, functional area of your dreams.
Why a Clean Kitchen Matters
Healthy and Sanitary Environment: It’s also a known fact that a clean kitchen minimizes the chances of foodborne diseases by evicting bacteria and pathogens residing on surfaces & equipment.
- Leaves You Happy to Eat in Your Cooking Space: An organized cooking space makes it easy to whip up meals without being distracted by clutter.
- Longer Lasting Appliances: A clean kitchen means that your gadgets and appliances undergo less wear and tear so will continue to function well for longer.
- The Ease of Entertaining: Want to have friends or family over for a get-together? A clean kitchen leaves you one less worry.
Let’s dive into how to create your customized kitchen cleaning schedule now that we know why it matters.

Step 1: Assess Your Kitchen
They take the time to understand the layout of your kitchen and what specific areas need cleaning. Every kitchen is unique and some areas may require greater attention than others.
Identify Cleaning Areas
Look around, and identify all the places that need to be cleaned up. These might include:
- Countertops and backsplash
- Floors and rugs
- Major appliances (refrigerator, stove, dishwasher)
- Kitchen small appliances (toaster, blender, microwave).
- Storage areas (cabinets and pantry)
Determine Task Frequency
Some tasks, such as wiping down your counters, are daily musts. Others can be spaced out more (like deep cleaning your oven or fridge, for instance). Divide your tasks into:
- Daily tasks
- Weekly tasks
- Monthly tasks
Being clear on these aspects will assist you in prioritising better when you plan your tasks.

Step 2: Write out your cleaning tasks
Be thorough. Write down every single task involved in keeping the kitchen clean, Here’s a breakdown to help get you started:
Cleaning Surface (Daily/Weekly Assignments)
- Clean countertops, tables and backsplash
- Dust shelves and ledges
- Sweep up crumbs and debris from the floor
Deep Cleaning (Weekly/Monthly Chores)
- Clean out the oven and stovetops
- Disinfect the inside of the fridge and rearrange food items
- Clean the microwave — inside and out
Sanitize High-Touch Areas
Focus more on areas that are frequently touched but seldom cleaned:
- Pulls and knobs for cabinets and drawers
- Light switches
- Pushbuttons on appliances and water fountain faucet
Now that you have clearly defined tasks, you can assign each task to specific days of the week.
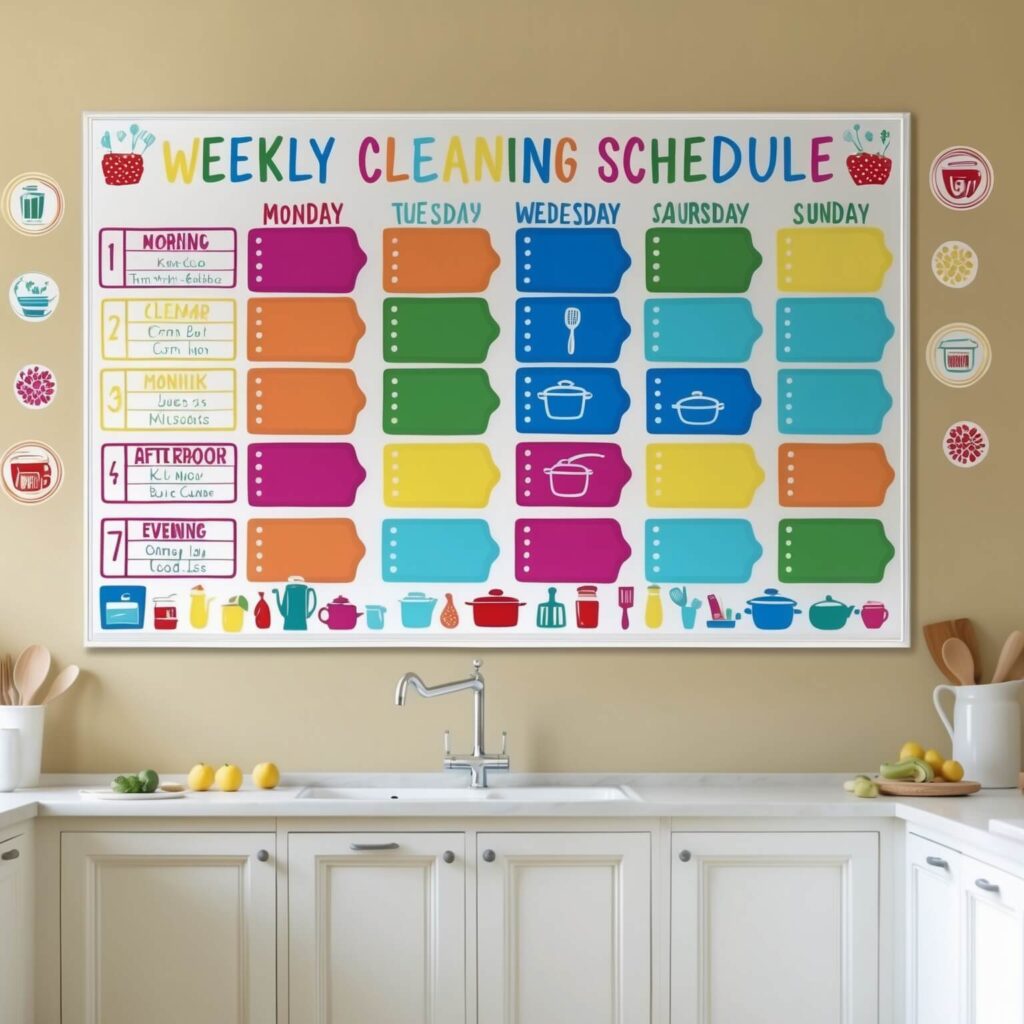
Step 3: Create a Weekly Plan
Cleaning is a manageable, daily goal so you are not overburdened. Follow this sample weekly schedule.
Monday > Counters and Surfaces
Declutter and clean all counters, tables, and backsplash at the beginning of your week.
Tuesday >Sweep and Mop Your Floors
Sweep up loose crumbs and spills, then mop your floors to keep things looking fresh and bacteria free.
Wednesday > Clean the Fridge
Take time to toss expired foods, wipe down shelves and organize items to easily access them.
Thursday > Clean Small Appliances
Give small appliances, like your blender, toaster and microwave, a quick scrub and polish.
Friday > Deep Clean the Oven
Get ready for the weekend with a sparkling oven — perfect for tackling baked-on grease or food particles.
Saturday > Clean Out Your Pantry and Cabinets
Take items out of your pantry and cabinets, wipe down shelves and return items in a way that makes them easy to locate.
Sunday > Quick Tidy-Up
End your week with a light touchup wipe spills, declutter counters and take out the trash.
The schedule can vary by kitchen size and the frequency with which you prepare food, so make changes as necessary for your needs.

Step 4: Set Reminders
You can’t remember your plan —you’ll automate it! Apps, calendars or old-fashioned sticky notes work too to keep you on your to-do list.
- Mobile Apps: To do list or Google Calendar for setting recurring reminders for your tasks.
- Pick Convenient Times: Slot tasks into your usual routine, like cleaning up after dinner or doing a tidying sweep on weekend mornings.
- Treat Yourself: Promise yourself a cup of coffee or a few minutes of quiet time after you clean.
Reminders allow you to be consistent without needing to make an additional mental effort.
Step 5: Check and Modify Your Schedule
Your kitchen cleaning schedule is not gospel. Assess its efficacy periodically and modify it as necessary.
- Maintain What Works: Stay with tasks and routines that have always been second nature or seem to work.
- Change What You Need To: If something is taking too long, break a large task into smaller steps over several days.
- Schedule accordingly for seasonality (e.g., cleaning an outdoor grill in summer or restocking baking tools in winter).
Personalizing your routine means you’re more likely to stick with it for the long haul.
Keep Your Kitchen in Tip-Top Shape
Keeping a kitchen clean needn’t be a Sisyphean task. With a simple weekly cleaning routine, you’ll have a cooking space that feels tidied, relaxed and welcoming. A big part of this is consistency, having a plan in place, and simplifying the cleaning process, even making it enjoyable!
Looking to take things to the next level? Discover new tools and DIY tips from seasoned experts to refine your routine even more. Begin today by organizing just one section of your kitchen, and watch how small steps lead to big wins!
FAQ
To properly clean a kitchen, start by decluttering countertops and washing dirty dishes. Then, wipe down surfaces with a disinfectant, paying special attention to high-touch areas like handles and switches. Sweep or vacuum the floor, followed by mopping with a suitable floor cleaner. Lastly, take out the trash and refresh sponges or dishcloths to maintain hygiene.
The five basic steps of cleaning are:
Pre-Cleaning:Remove visible debris and clutter.
Washing:Use soap and warm water to clean surfaces.
Rinsing:Rinse off any residue from cleaning agents.
Sanitizing: Disinfect surfaces to kill germs.
Drying :Allow surfaces to air dry or wipe with a clean towel.
The 30-minute cleaning rule involves setting aside 30 minutes daily to tidy up. This could include wiping down counters, sweeping the floor, washing dishes, and organizing clutter. It helps maintain a consistently clean kitchen without overwhelming deep-cleaning sessions.
First, read the label to check if the cleaner is suitable for your surfaces. Spray or apply it to the area and let it sit for a few minutes if needed. Then, wipe with a clean cloth or sponge, following up with a rinse if required. Always use proper ventilation when handling strong chemical cleaners.
Regular cleaning prevents bacteria buildup, reduces the risk of foodborne illnesses, and keeps pests away. It also helps maintain a pleasant cooking environment and extends the life of kitchen appliances and surfaces.
